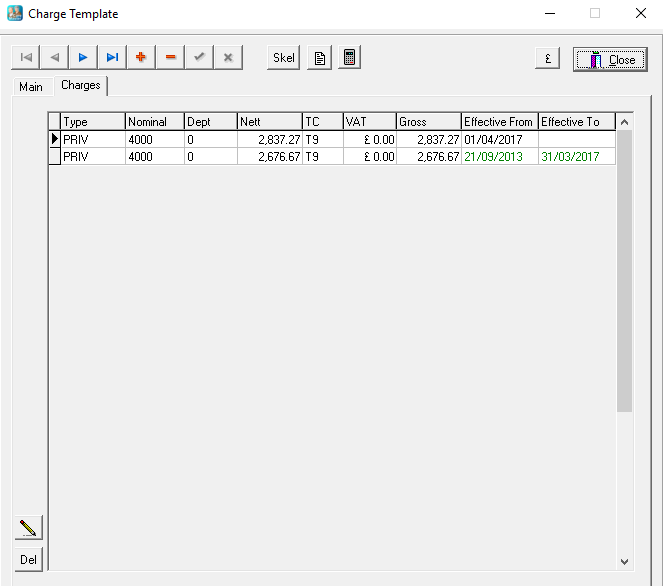
This screen is used to define the actual charges for each funding source.
Click on the drop-down button in the "Type" field to select the type of charge required, this list is created in the Invoice Charge Types screen. The default Nominal Code and Department Code will automatically be picked from the Home record although these can be amended for each Charge Template as required. Both of these fields are linked to the relevant tables in the Sage 50 Accounts database and this data will not be available until the Refresh Sage Data option has been run.
N.B. If a credit amount is required on a Charge Template, a minus sign (-) should be entered before the Nett Value. The data on the line will change to red as a visual reminder that this is a credit line. (See Credit Notes for further information).
The "Tax Code" field will default to the value on the Home record but this can be amended if required, this field is also linked to Sage 50 Accounts.
The "Effective From" date is the date that this particular charge will start being used on invoices, it will continue to be used until a date is entered in the "Effective To" field. As rates are updated this screen will build up a history of past rates for reference purposes. For more information on updating rates and effective dates please go to Client Rate Processing.
Multiple lines can be entered on each charge template, to do this just use the "Tab" key on your keyboard to move on to the next line.
If you wish to edit an existing line, highlight it and click on the "Edit button.
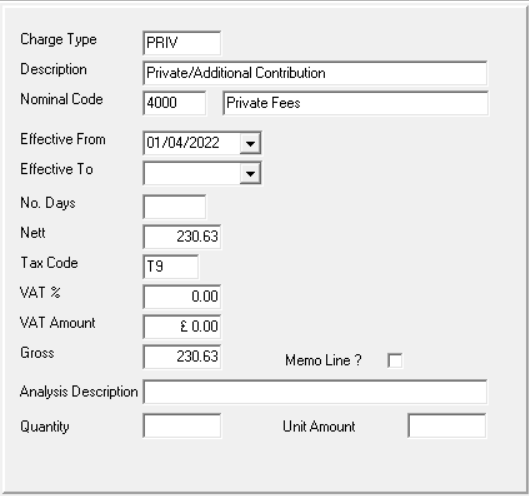
The following screen will now open.
You can make any changes required and then click on the "Edit" button again to return to the Charges screen. Click on the "Tick" at the top to save your changes. If you selected the "Show Quantity and Unit Amount fields on Charge Template lines" option in the System Defaults main screen, there will be two additional fields at the bottom of the screen (as shown above) - "Quantity" and "Unit Amount". If you enter values in these fields the "Nett" field will be updated with the resulting product amount.
If you wish to delete a line from a charge template, highlight it and click on the "Del" button.
You will then be asked to confirm your choice.
Click on "Yes" to confirm the deletion or "No" to cancel.
At the top of the screen next to the "Skel" button there are two further buttons:
"Produce Ad-Hoc Invoice/Credit Note", for information on Ad-hoc invoices and credits please go to Ad-Hoc Invoices.
"Convert a Rate" button.
This button will automatically convert a rate entered as a daily or weekly amount into the monthly equivalent.
Select the rate type entered and then click on "OK" to convert the value.