Each room within a home can hold information about the resident or residents that have occupied it along with dates and notes.
Click on the "Settings" tab to bring up the list of options and then select "Homes" from the menu options list.
The "Homes" screen will then be displayed, now click on the "Room Occupancy" button.
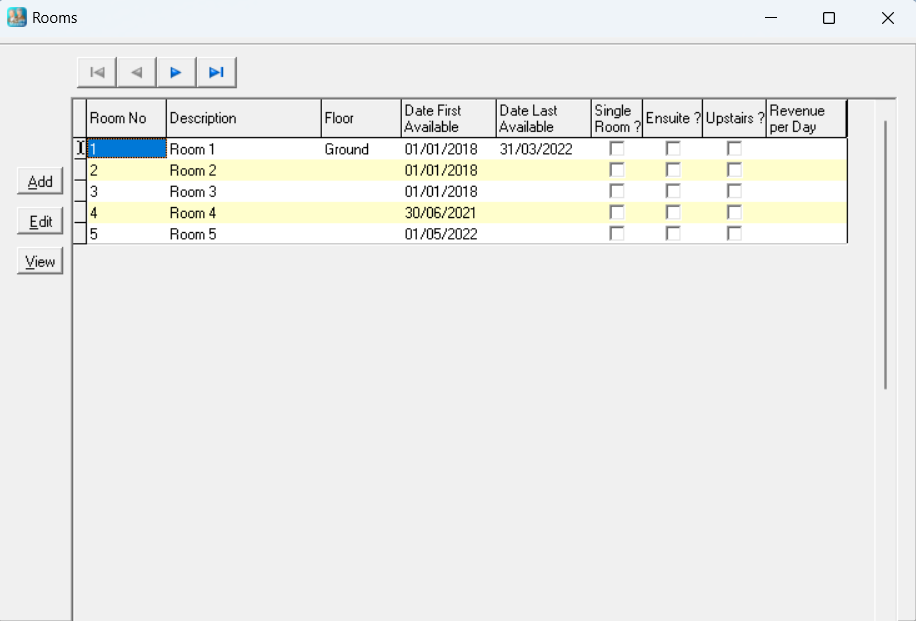
The "Rooms" screen will now be displayed.
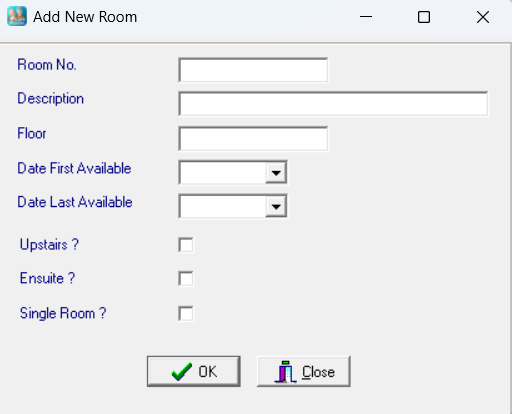
This screen displays a list of the rooms that have been created in the home. To create new rooms, click on the "Add" button (+) and the "Add new Room" screen will appear.
Enter the Room Number, Description, Floor and Date First Available in the respective fields, you may also use the tick boxes to identify Upstairs Rooms, Ensuite Rooms and Single Rooms. Click on "OK" to save the room record.
N.B. Please note that only one resident can be assigned to a room. If you have shared rooms in your home they must be set up as two rooms (e.g. 12a and 12b).
Existing rooms can be edited by highlighting the relevant line and then clicking the "Edit" button. If a room is no longer in use and you do not want it to continue to be included in the occupancy reports, you can "decommission" it by entering a "Date Last Available".
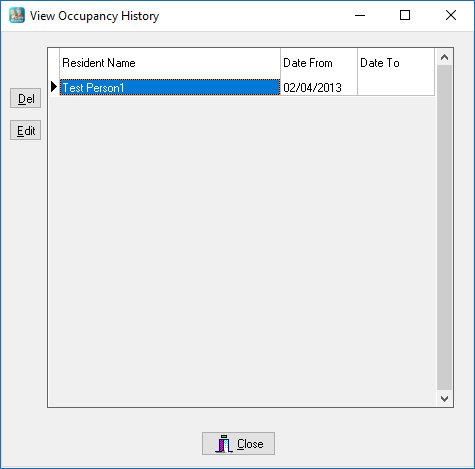
Once rooms have been created, residents can then be assigned to them. (See Move to a Room for more on how to do this). To view the occupancy history for a room, highlight the relevant room number and click on the "View" button . The "View Occupancy History" screen will then be displayed.
If an Occupancy Record has been set up in error, it can be deleted by clicking on the "Del" button. Also, if an Occupancy Record has been set up with incorrect dates these can be amended by clicking on the "Edit" button.