Once the invoices have been previewed and checked or modified if required, they can be printed out (only "Printable" invoices will be included in the print run).
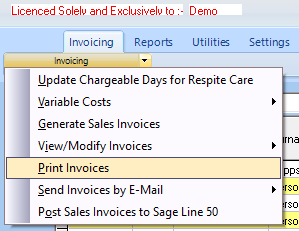
Click on the "Invoicing" tab and then select "Print Invoices" from the menu options list.
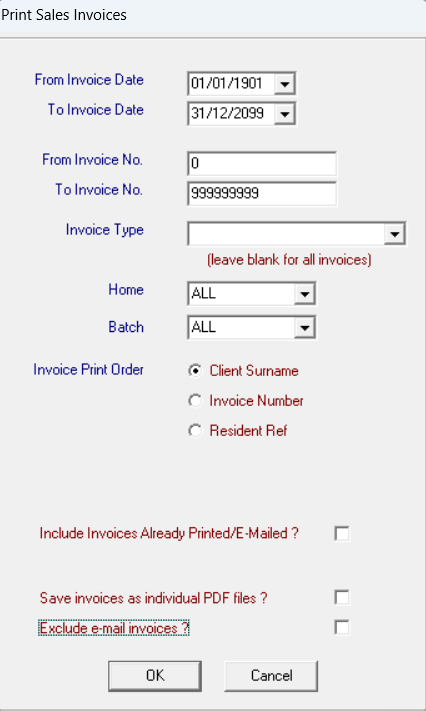
The "Print Sales Invoices" screen will then appear.
On this screen a date range can be selected for the invoices required or if only a small number or even a single invoice is required then and invoice number range can be entered instead. Select the "Invoice Type" from the drop down list or leave blank for all invoice types, similarly select a "Home" from the next drop down list or again leave blank for all homes. You may also wish to print out all of the invoices in a particular batch, if so, you can select the batch from the drop down list. The invoices can be printed out in Client Surname order, Invoice Number order or Resident Reference order, make your selection by clicking the relevant radio button. If you are reprinting invoices that have already been printed, remember to click the "Include Invoices already Printed?" box. Instead of printing paper copies you can also choose to create individual PDF copies of invoices, if you wish to do this click the "Save invoices as individual PDF files" box. (Any PDF invoices produced will be saved in the "PDF_Invoices" folder within the "CareMaster" folder. You also have the option of excluding any invoices which are due to be emailed. Now click on "OK".
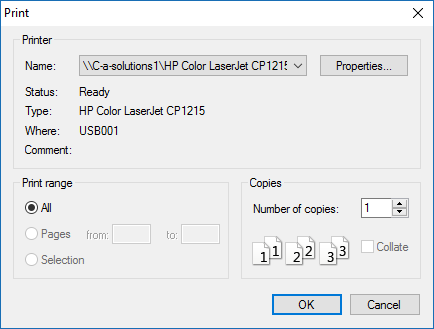
The Printer dialog box will now be displayed to allow the user to select which printer to send the invoices to.
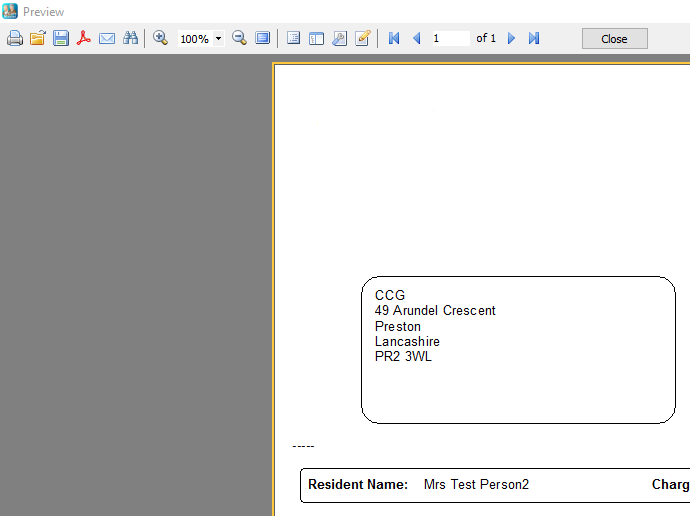
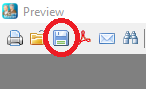
A print preview will now be displayed allowing a final check before printing.
If you wish to print the invoice, click on the "Print" button at the top of the screen.
You can also create a 'PDF' copy of the invoice by clicking on the "Acrobat" button.
Or you can also export a copy in 'RTF' or 'Spreadsheet' format by clicking on the "Export" button.