This screen is used to define the different frequencies that you will use when creating invoices. The system allows for any invoicing time period as long as a corresponding code is created in this table.
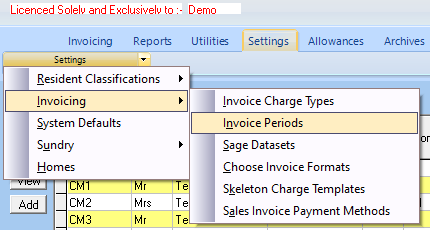
Click on the "Settings" tab to bring up the list of options and then select "Invoicing" followed by "Invoicing Periods" from the menu options list.
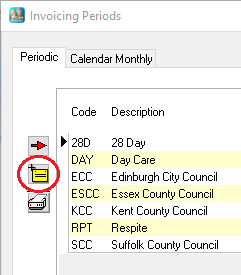
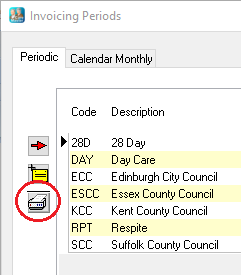
The "Invoicing Periods" screen will now be displayed.
Use the mouse to click into the first available blank line on the table, enter a suitable code and then type in the description for the frequency you wish to use. Enter number of days in the "Payment Terms" column if required then use the "Tab" key to move onto the next line and continue until all the necessary codes have been created, finally use the "Tab" key again to move onto a blank line and then click on the "Close" button to save the records.
If you want charge templates that include a particular invoice period to be included in the Charge Template List report, tick the box at the end of the line.
From time to time there may be invoice periods that are no longer in use but need to be kept for historical reporting. Unticking the "Still used?" field for a particular record will mean that it will not appear in the drop down list on the charge templates nor in the Invoice Periods Report.
When the records have been saved highlight the first line and then click on the yellow button on the left of the screen.
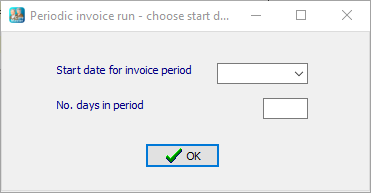
The "choose start date" screen will appear.
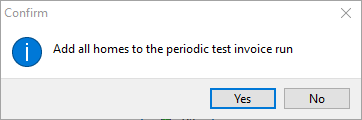
Enter the date the system should use as the starting point for this particular invoicing period and also the number of days in the period. Click on the "OK" button and you will then be asked to confirm that you want to add all homes to this invoice run.
Click on "Yes" to confirm.
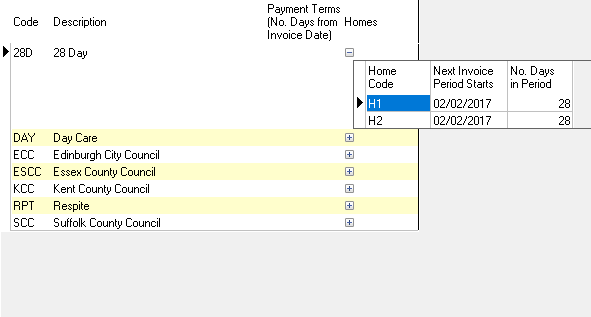
Now click on the small '+' sign at the right hand end of the line and a drop down will appear showing the home codes, start date and number of days in the period.
Continue until all lines have been added. The Calendar Monthly invoicing periods are created in a similar way. The only difference being that it is not necessary to enter the number of days in the period.
If the frequency of an invoicing period changes from "Periodic" to "Calendar Monthly", the record can be moved by highlighting the relevant line and clicking on the red arrow button on the left of the screen.
After clicking the button you will then be asked to confirm that you wish to move the invoicing period.
Click "Yes" to confirm the action or "No" if you wish to cancel the changes.
If you would like to print a list of all of the current Invoicing Periods, click the print button on the left of the screen.
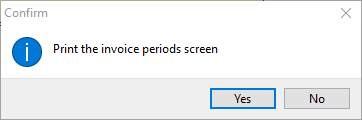
You will then be asked to confirm your choice.
Click on "Yes" to proceed with the print, or "No" to cancel.
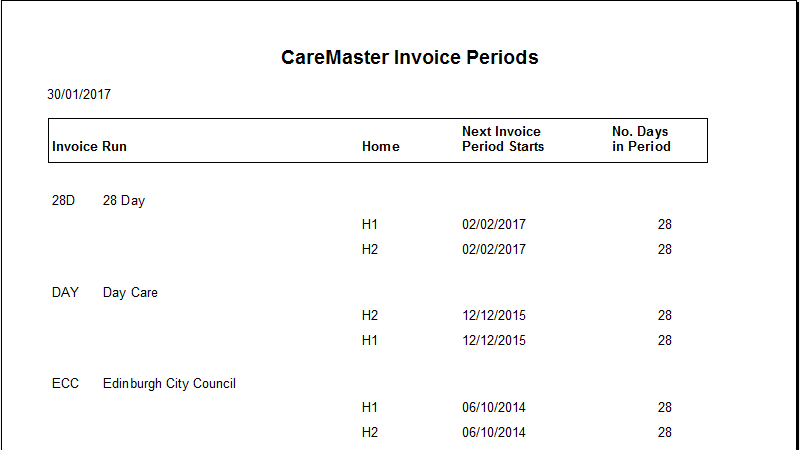
You will now see a screen preview of the Invoice Periods Report.