Allowances
The eleventh tab on the Residents screen is headed "Allowances", this allows the user to record any personal money transactions for each resident. This can also be done using the Personal Allowances section of the program.
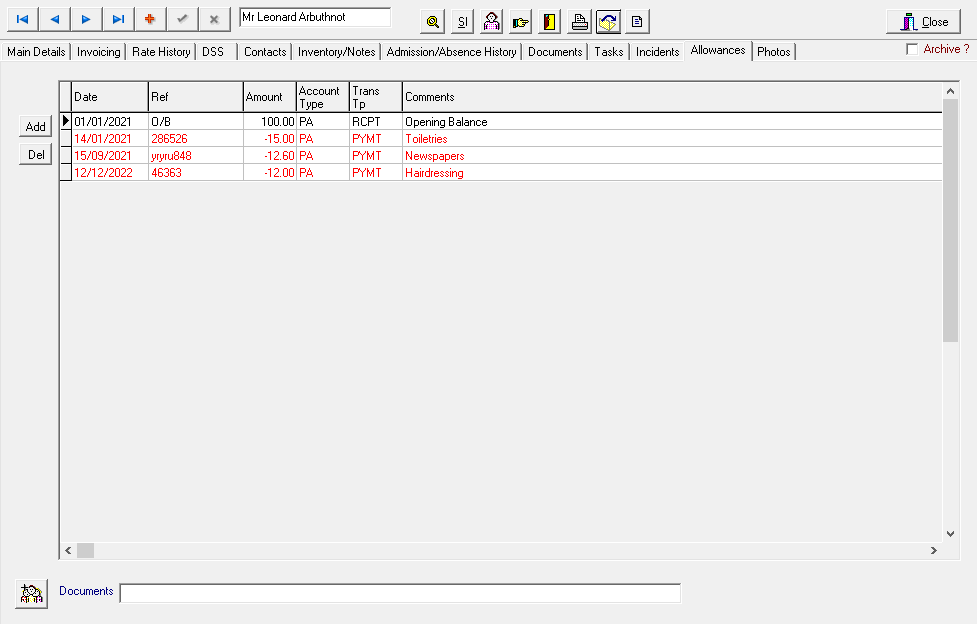
Any existing transactions will be displayed on the screen. If you wish to enter a new transaction, click on the "Add" button at the top left and the "Allocate Allowances" screen will be displayed.
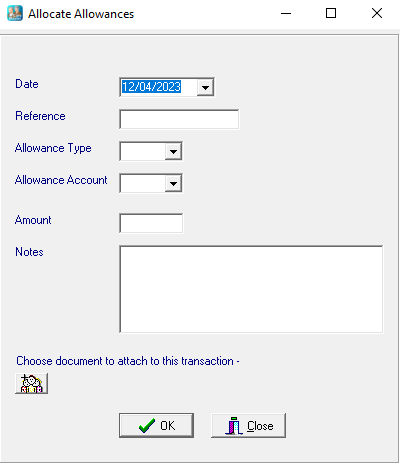
Select the required date from the calendar or type it into the "Date" box. Then type your reference (if required) into the next field.
You can then select the Allowance Type and Allowance Account using the drop down buttons. (If these have not already been set up go to the Personal Allowances section for details.)
Then enter the amount of the transaction and any details in the notes field. If you have a file copy of a document that you wish to attach to the transaction, click the button at the bottom of the screen you will see the "Choose File to Attach" screen.
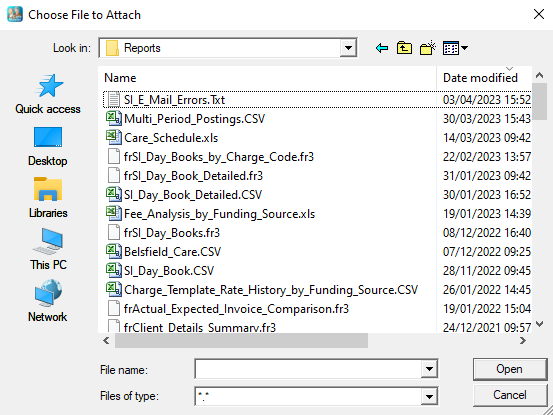
Select the relevant file and click the "Open" button.
Finally, click the "OK" button and the transaction will be added to the list. You will be asked to confirm your choice.
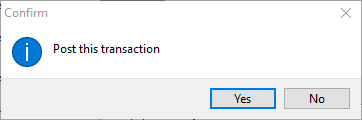
Click on "Yes" to save or "No" to cancel.
If the transaction that you are entering would result in the resident's personal account going overdrawn you will see a warning screen.
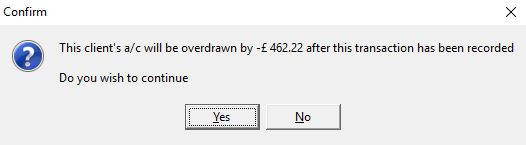
If you want to continue anyway, click "Yes" or if not click on "No" to cancel the transaction.
If you clicked "Yes", you will then see the following confirmation screen.

If you have further to transactions to post for the same resident, click on the "Yes" button, otherwise click on "No" to finish.

The attached document can then be displayed by clicking the button on the left.
You can run Account Balances, Account Transactions and Transaction Type List reports from the Reports section of the program.
By highlighting a transaction line, you can see whether a document has been attached. It will be shown in the box at the bottom of the screen.